Secrets of Photorealism in Blender
The secret sauce you always wanted
What does it take to create believable renders? This training will answer that question with a simple approach that anyone can apply to their work.
The framework that I showcase in this course is very straightforward and revolves around seven foundational principles:
Using reference for accuracy
Being specific and precise with your materials
Finding creative approaches to problem-solving
Creating micro-details
Breaking up reflections with roughness maps
Iterating and testing under different lighting conditions
Adding subtle optical effects
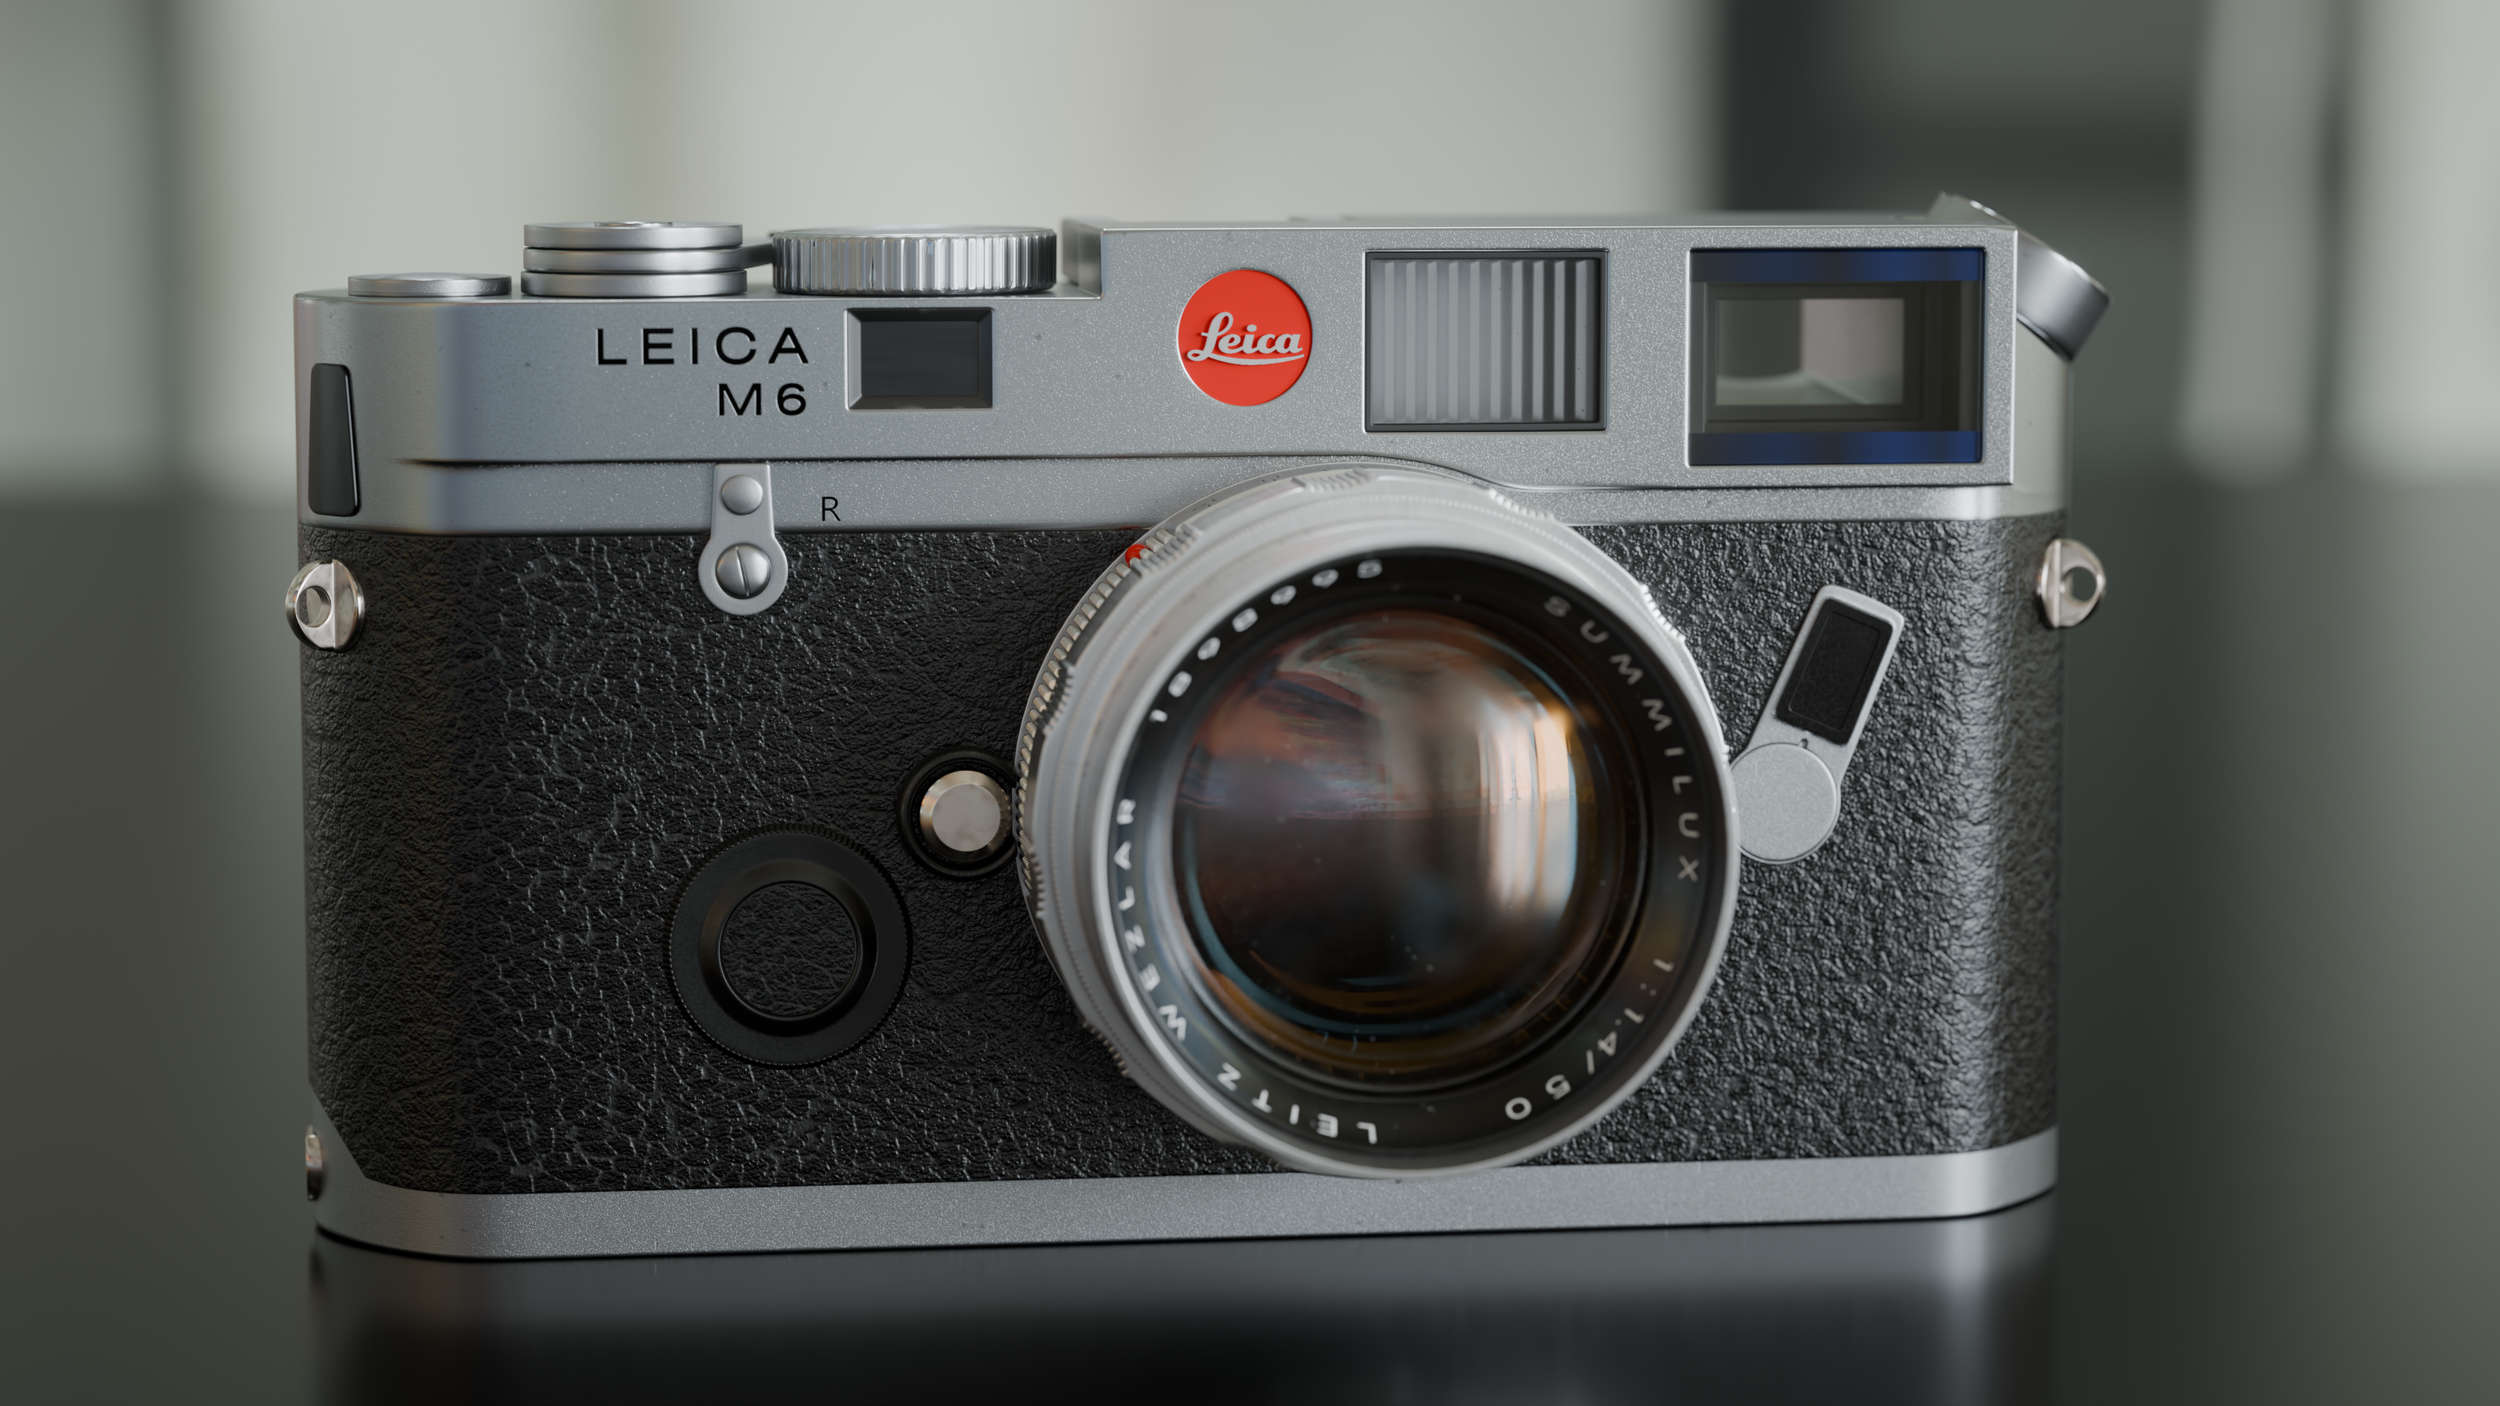
The training will guide you step-by-step through the entire process of shading, texturing, lighting, and rendering the Leica M6 camera, demonstrating these seven principles along the way so that you can see how to apply them yourself in a real-world project.
You will learn how to avoid the trap of creating generic materials and develop a more forensic approach. Instead of making a vague "metal", you will learn to analyse your reference and create something specific, such as the nickel and aluminium seen in the reference.
Along with this more analytical method, I will discuss how to approach problem-solving in situations that require bespoke solutions to specific problems. If the answer isn't a simple Google search away, you need to develop the skills to come up with your own solutions. In the training you will see how I address these kinds of challenges.
Particular attention is given to the creation of micro-details, as these help to give a tactile feel to your materials, bringing them to life and avoiding that plasticky, clean CG look. Zooming in on your renders will only increase their realism, as more details are revealed.
Roughness maps are another pivotal part of this process, ensuring that no surface is left perfectly glossy and that subtle surface imperfections break up all your reflections.
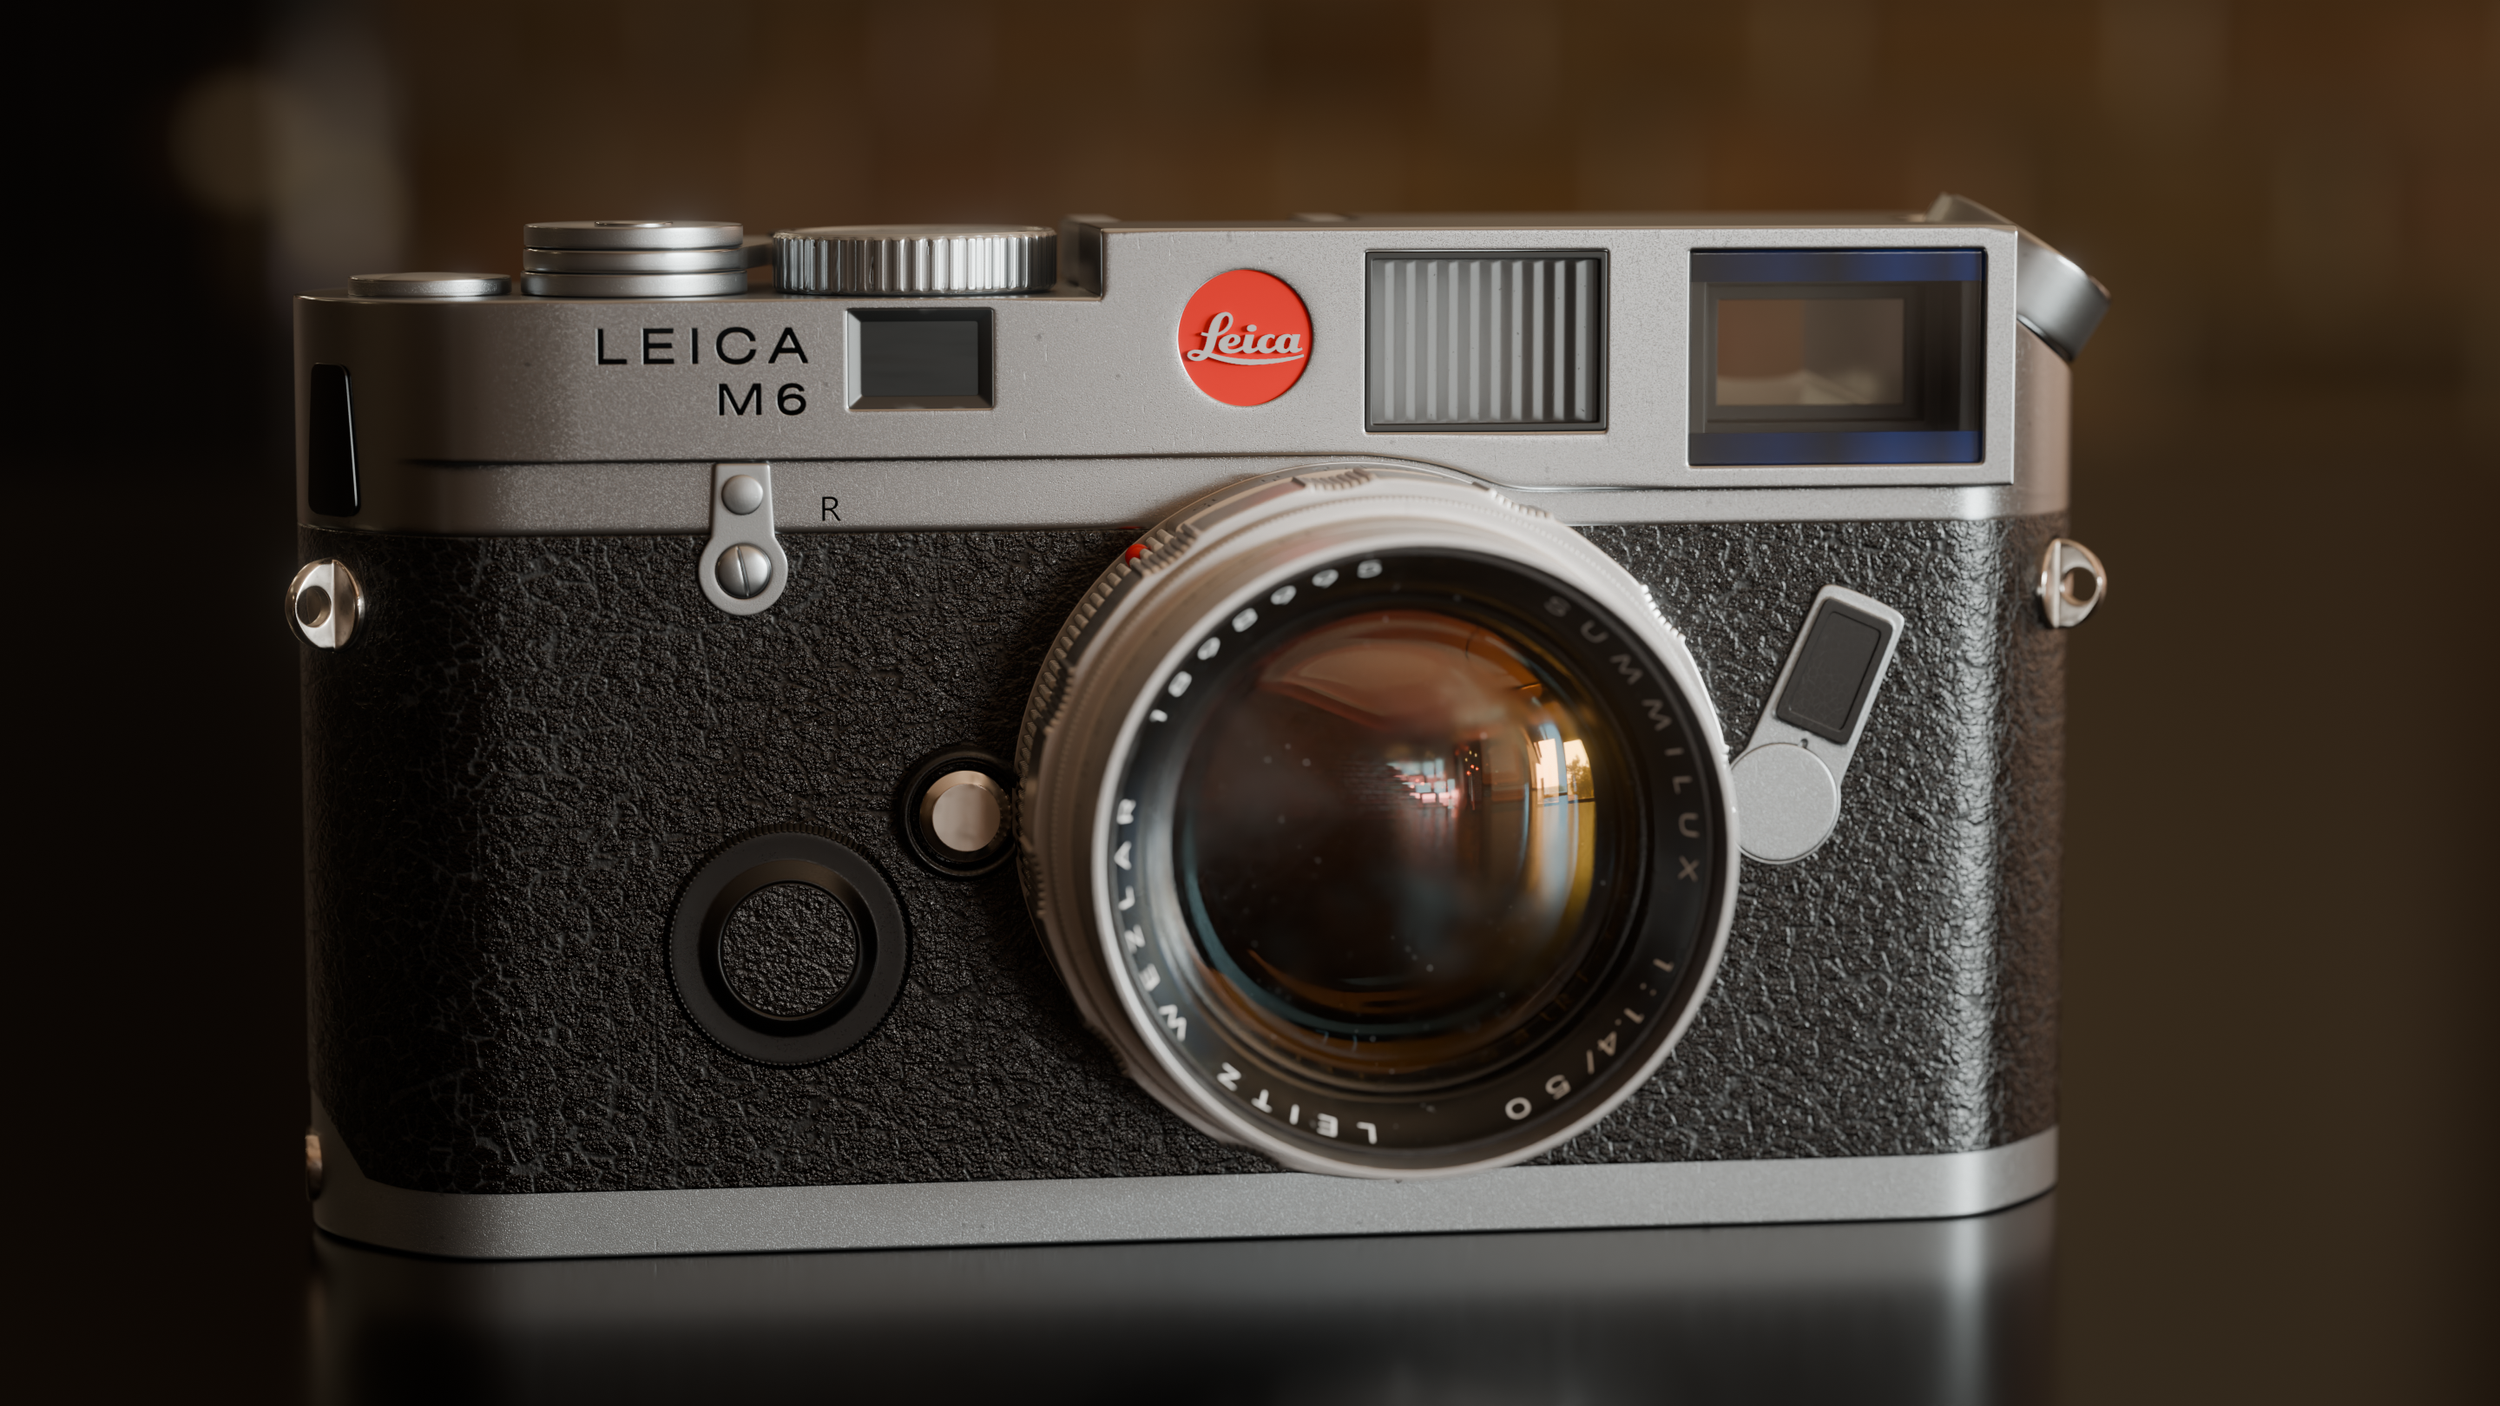
And because testing your shaders under different lighting conditions is crucial to ensure they always behave realistically, regardless of the lighting conditions, the training comes bundled with the Instant Lighting Kit Lite, allowing you to switch between different environments easily.
Not only that, but this will also allow you to create beautiful final renders. I made all the renders in the training using the Instant Lighting Kit Lite.
Finally the training will show you how to add subtle optical effects to create a photographic look. This often overlooked step is critical if you want the light in your scene to react in a photorealistic manner.
Creating beautiful and photorealistic renders is within reach of anyone who applies these principles in their work. With this training you can unlock the key to mastering photorealism in your renders.
If you’ve ever been frustrated trying to achieve that final 10% that really brings your images to life, applying the seven principles outlined in this course will provide a solid framework to help you level up your renders to a professional level. These principles are completely software agnostic, because the skills I teach are universal, and can be used in any application.
What this course will teach you is the thought process and problem-solving approach that will lead to more realistic renders, by applying tried and tested principles to remove all the guesswork.
In this training you will learn:
How to use and analyse reference photos to give your materials a solid foundation in reality
How to create specific materials so that your renders don't look generic and unconvincing
How to find creative approaches to problem-solving so that you can create your own solutions to tricky problems
How to create micro-details and bring your materials to life
How to create roughness maps to break up the reflections in your shaders in a realistic way
How to iterate and test your work under different lighting conditions so that your materials always look good
How to add subtle optical effects so that your lighting pops and looks like it was shot through a lens
How to use the included Instant Lighting Kit Lite to create stunning final renders, so that your work always stands out
So elevate your renders and buy Secrets of Photorealism in Blender using the button below
Watch the intro video here: